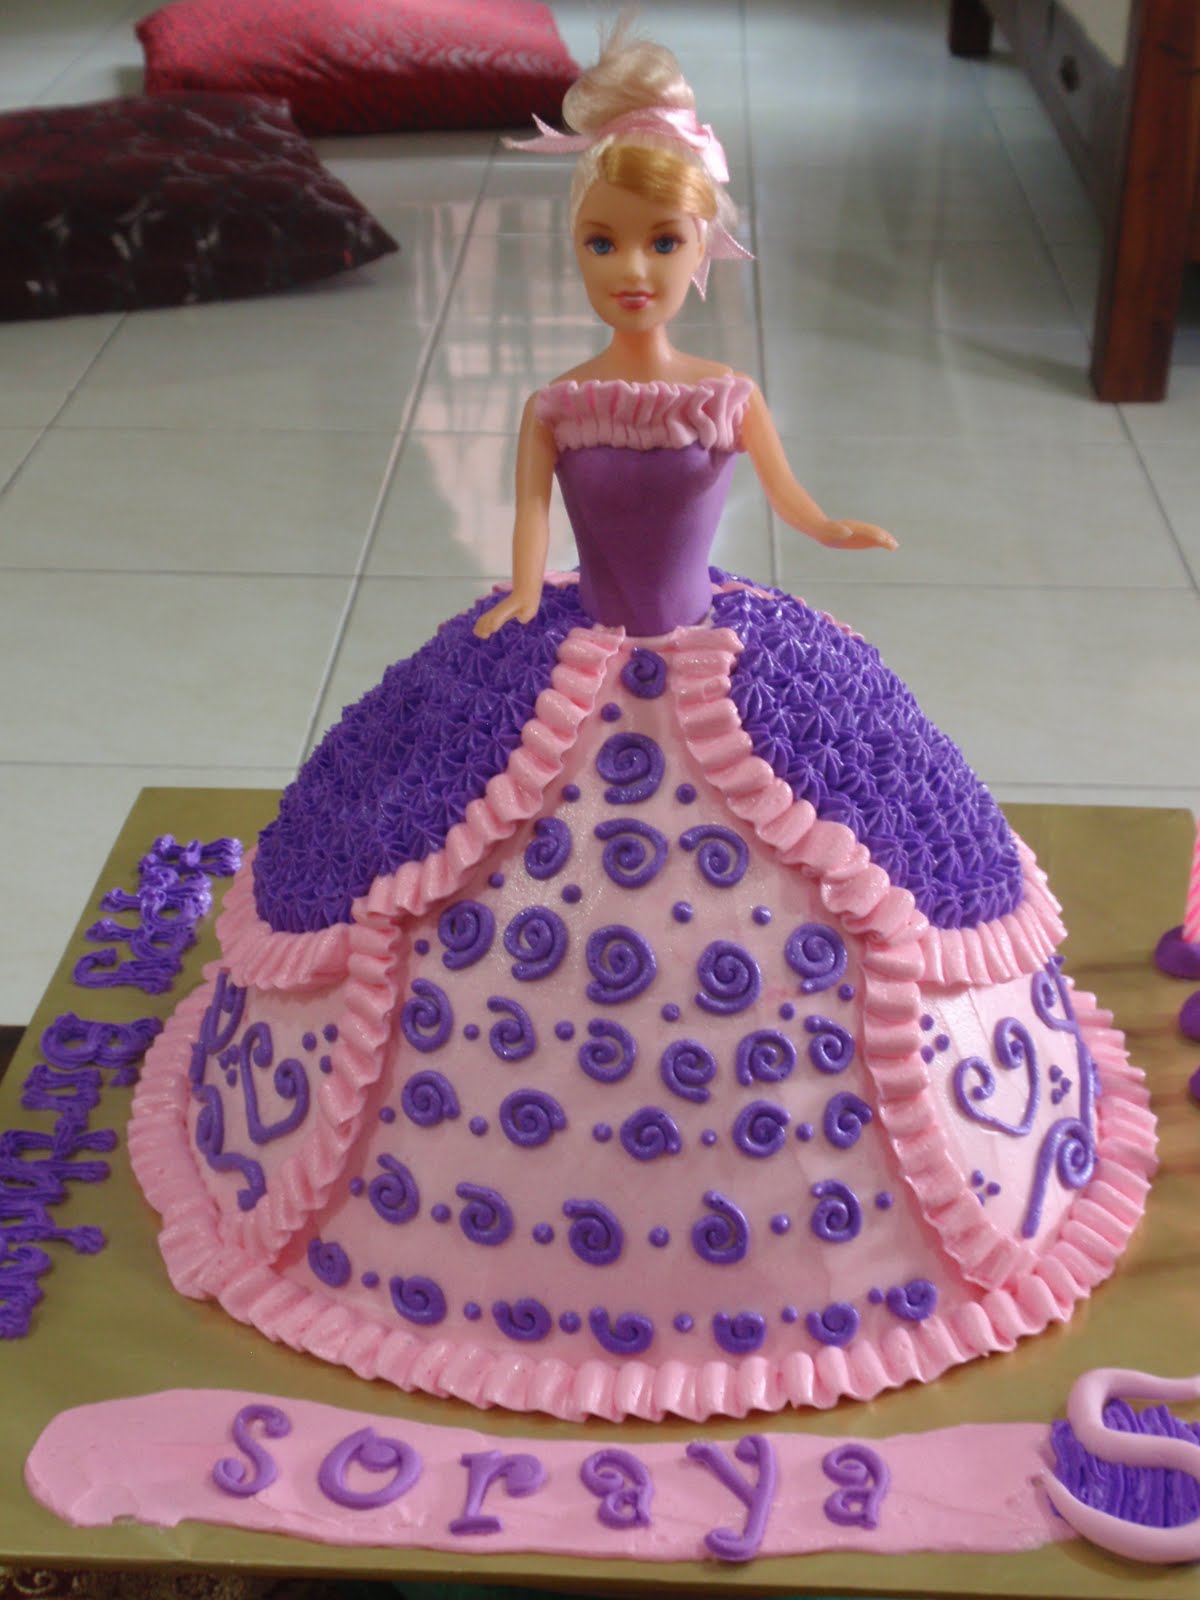
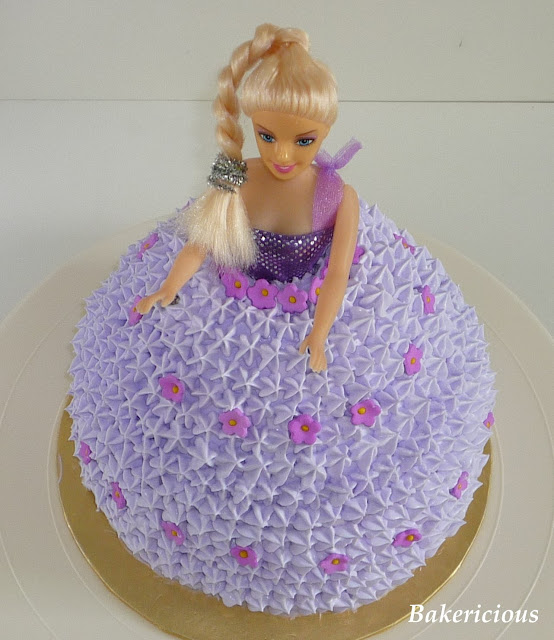
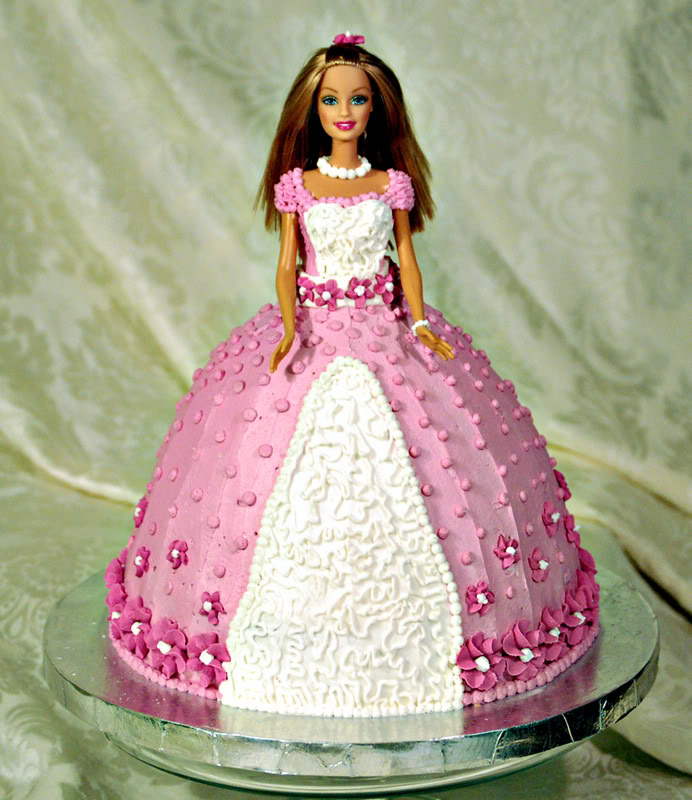
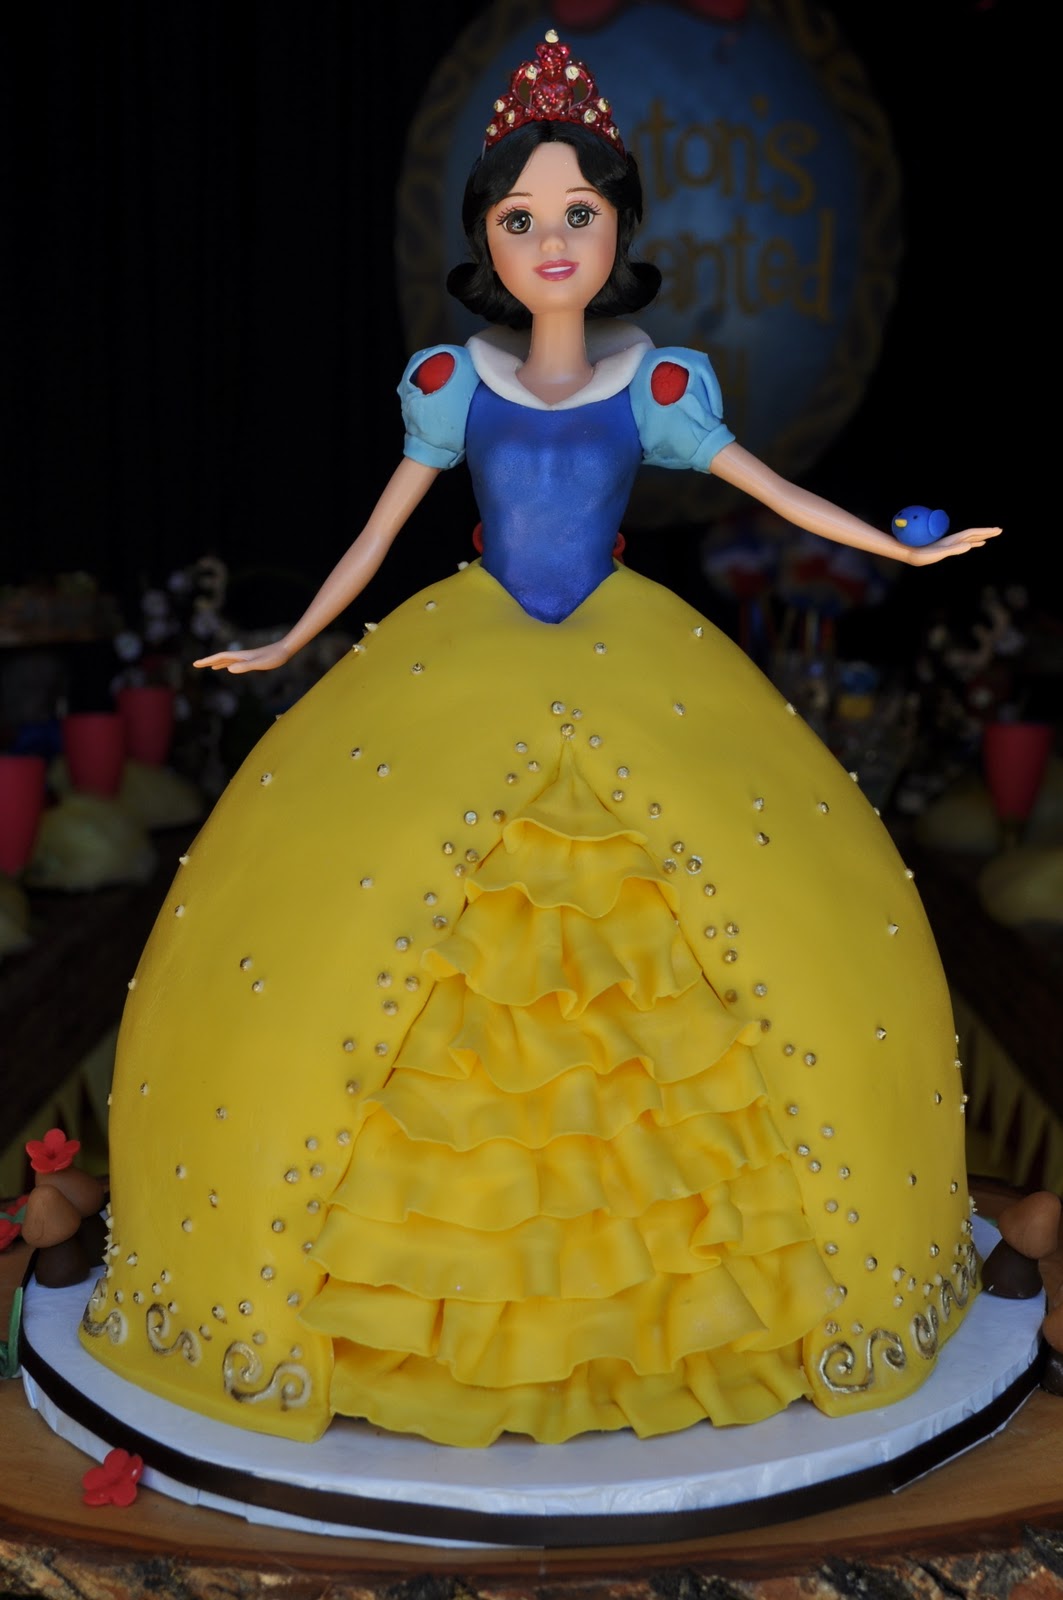
Talk to a couple grown women who had princess parties when they were young, and they'll tell you about the doll cake centerpiece. Why? Because they remember it vividly like it was yesterday. That's the power of the doll cake.
The power is so strong that some grown women who received doll cakes for their birthdays or other celebrations refused to cut into them. They insist that it is "too pretty to eat." Little girls are not immune. One cried each time her mother moved the knife toward the doll's dress to cut it to serve to party guests. This young lady told her mother that she didn't want any cake and suggested that her friends eat the ice cream nearby. That cake went into the refrigerator taking up valuable space only to be looked at for months until the dried up cake had to be thrown away. A picture would have lasted longer and the memory of the delicious cake would have lingered on in her memory.
Doll cakes are meant to be eaten and are simple to make. Wilton's Wonder Mold Pan makes regular-sized doll cakes large enough to serve 12-18 people depending on how it's cut. Too scared to start with one that big? Use the Mini Wonder Mold Pan which makes four miniature one-serving cakes. Once you practice making the miniature cakes, you will have more confidence to go to the larger pan. Most craft stores carry both of these pans and the doll picks that are inserted into them.
Regular cake mixes made using the pound cake style recipe on the side of the box or scratch cake recipes work perfectly in both of these pans. Just make sure that you thoroughly grease the inside cavity of the pan(s) with Crisco and dust with flour. You can also use those shortening/flour aerosol can sprays to prepare your pan. Fill no more than 2/3 the way full.
The regular doll cake should be baked on the lower oven rack with the top oven rack removed, at 325 degrees, until done. This way your cake bakes evenly with a flat top instead of with a cake dome that you have to remove to make the dress level on a plate.
Once your regular-sized cake has finished baking, remove the Wonder Mold pan from the oven. Let the cake cool in the pan for 15-30 minutes. Remove any cake dome with a serrated knife before taking out of the pan. Take a paper towel and lay it over the cut part of the cake, set a wire rack on top of the paper towel and invert. This is important for several reasons. The first is that your cake is extremely fragile right out of the oven. If you were to remove it from the pan immediately, it could split in two while cooling on the rack. And, if you cut the dome off right out of the oven, your cake would dry out. Please make sure that the wire rack is elevated so the cake is not sitting directly on a plate or table so can cool completely without sweating.
If you decide to split the doll cake into three layers to add filling, use a serrated knife to cut straight across. Use buttercream to create a border on the outside of the cake (use coupler without a tip) to keep the filling inside. When you put the top cake layer on, press down to make sure your filling and cake have complete contact. Some frosting may ooze out of the size. Spread a light layer of frosting over the rest of the cake. Refrigerate to make sure the filling has set before proceeding to decorate. This way your cake will not shift.
Buttercream or fondant design? If you're covering your cake with buttercream designs, you can start designing now. Test the consistency of your buttercream by putting a little into the decorating bag with a coupler on the end. Add your tip and pipe a design. If your buttercream is too thick, add a little liquid whipping cream to it to thin it out and make it easier to pipe the design.
Doll picks can be inserted into the top of your skirt and decorated with various tips. Tip 16 is perfect for making stars on the bodice of your doll pick. Tip 21, 81 and 104 are great for making simple swirls in your skirt. Practice using the tips to see what effect is desired on your bodice or skirt.
When using fondant to design your cake, cover it completely in buttercream, set in the refrigerator to get cold and then remove. With a cloth paper towel, smooth the buttercream frosting. Roll out your fondant 1/4" thick, into an 18" circle. Use a cake board and a pizza cutter to cut out. Gently run your fingers across the end of the fondant. This is your hem, and it should be smooth. Slide your hands under the fondant and lift up. Center it over the cake and then attach making sure it's even on all sides. Gently smooth the top of the dress skirt down. The dress will show gentle curves. Put your finger under them to look like inner and outer folds all the way around the dress. Stand away for a moment and look at your skirt. If you can see the cake at the bottom, gently smooth the fondant on the skirt, and it will move down. Be gentle because you don't want tears in your fondant. If you have too much fondant on the bottom of the dress, you can trim it away with your pizza cutter or food safe scissors.
Cut a piece of wax paper to create the template for the bodice and then use that as a pattern to cut out the fondant. Attach to the doll pick with a little piping gel. Decorate as desired. With all of the gumpaste tools and flower cutters on the market, the sky is the limit.


No comments:
Post a Comment